
14 Steps of Homebrewing Basics
Recipe
For your first time brewing, find a recipe from a book, online, or right here on this website. We do not recommend attempting to create your own recipe the first time. Different ingredients interact differently and the potencies of the flavors and/or colors differ greatly. Wasting five plus hours of your time for not so good tasting beer is no fun – at least at first. The recipe should include, but not limited to; a grain bill, hops with a boil schedule, boil length, mash temperature and length (although sticking to these basic guidelines will work for most beers), yeast, and any other spices/additives.
Ingredients
Get all of your ingredients together either by buying them from your local home brewing store or various online stores. I recommend using your local store for a couple reasons. First, they, like you, are home brewers and love making and talking about beer. You will find its much easier to ask questions and get thorough answers in person. Second, it’s likely a privately owned company that could use your business which helps in keeping the industry growing. If there are none around you, you can order what you need from many online stores.
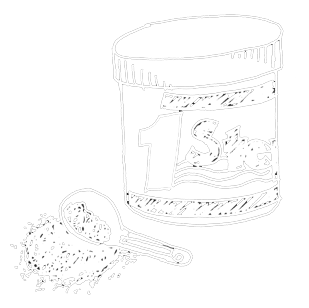
Sanitizing
This step is the most tedious and boring, but by far the most important. Contamination can kill a whole batch of beer and your spirits pretty quickly. So, although this part is boring, do not skimp, do it right. No-rinse sanitizer is the ingredient of choice for keeping unwanted organisms away. One spoonful for every gallon of cleaner you want is the usual ratio (but follow the directions on the container). Simply wipe down your equipment and let it sit for about 10 minutes. No rinsing! Keep a little bucket of extra sanitizer on hand throughout your brewing in case of contamination. Don’t put the chemicals of your tap water back into your equipment. No sanitizing is needed for processes that occur before the end of the boil, but it’s a good idea to rinse out your boil pot, cooler, stirrer, and thermometer before you use them. The boil kills anything that might be in your equipment. DO NOT USE SOAP. This stuff if hard to entirely get rid of and the flavors will ruin your beer.
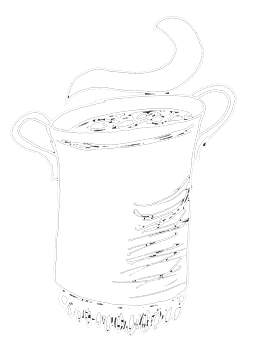
Initial Heating
Alright, you are ready to brew. Heat 4-5 gallons of water to around 175 degrees Fahrenheit. For pre-made “wet” yeasts, this is a good time to take them out of the fridge because most require a warm up of at least 3 hours.
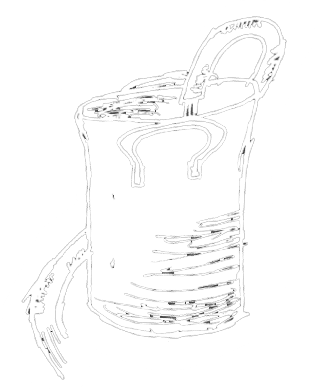
Mashing
Once the water is ready, pour about 3 inches worth into your empty cooler and shut the lid. This helps the cooler to heat up and reduces temperature loss. After about 10 minutes, pour all of your grain into the cooler and give it a quick stir. Pour in some more of the heated water until the water level is a few inches above the grain. Stir again, this time a little more vigorously as channels can form in the grain which will cause the water to not reach all the grains, thus losing out on a lot of the sugars. The grains should be saturated and move about freely at this point. Close the lid and set the timer for an hour. You can leave a floating thermometer in the mash and check to make sure the temperature is between 154 and 160 every 15 minutes, stirring each time. Keep a few gallons of water on the stove heating in case of severe temperature loss. You can also pour cold water in if it is too hot, but be careful, a little goes a long way and if you cool too much, you have to add more hot water. Usually, the cooler will hold the temperature for the whole hour. Until you get really good at this process, don’t worry, mild temperature fluctuations will not ruin your beer. Just avoid extremes.
Rest & Sealing the Grains
While the mashing process is taking place, begin heating up about 4-5 more gallons of water on the stove. You want this water HOT. Like boiling hot. You have to bring a total of 8-10 gallons of water up to 178 degrees, so temperatures of 200+ are needed to avoid overfilling your cooler. Once you get the temperature up to 178, put the lid on and let sit for 10-15 minutes. This is called a rest and will seal the grains.
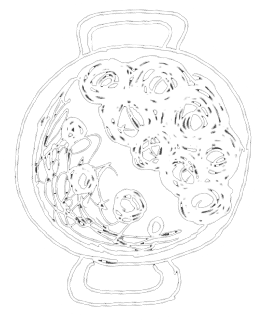
Extracting the Wort
Its now time to extract your wort, or sparge. There are several methods for doing this. The basic is using a pot, with a handle, and a screen (a splatter guard found in the kitchen sections of most stores works well). Dip the pot into the cooler and poor liquid thru the screen into your boil pot. Repeat this until you have about 6-6.5 gallons of wort in your pot. You can also make a screen valve that you can use in you cooler that has a hose attached. This way you can simply turn the valve and watch your wort flow into you pot. Find out how to build this device in our homebrew MacGyvering section. While extracting the wort, have a small pot of hot water ready in case there is not enough water in your cooler to extract the required 6.5 gallons. Simply pour more hot water into the cooler, stir, and repeat the process.
Boiling the Wort
Now that your wort is extracted, its time to boil. Put your boil pot on your heating source and bring to a boil. This can take quite a long time depending on your heat source. Keep an eye on it, especially if you are using a stove, to avoid boil over. It makes a mess. Once the pot is boiling, start your timer for the boil time set forth in your recipe. Add your ingredients per the recipe. Be careful when adding the hops, as this can increase the foam in the boil and cause a spillover (don’t worry this will happen at some point).
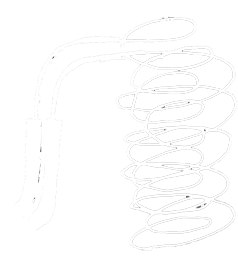
Wort Chiller (Optional)
With 15 minutes left, if you are using a wort chiller, it’s a good time to put it in your boil pot to kill any potentially harmful substances hiding on it.
Cooling the Wort
Once your boil is complete, carefully remove your pot and move it to the area you are going to let it cool, or the spigot you are using for your wort chiller. Sanitize your floating thermometer and toss it in to keep an eye on the temperature. Most yeasts work efficiently when your wort is cooled between 70-75 degrees but always follow the directions on the package.
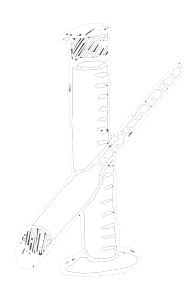
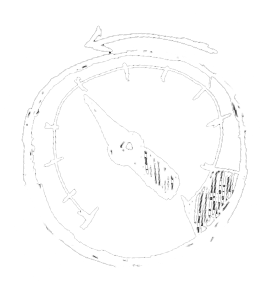
Specific Gravity (Optional)
When your wort has chilled to the correct temperature, its now the ideal time to take the specific gravity if you are interested in determining the alcohol content of your beer. Sterilize the hydrometer and place it in the wort. Write down the number and keep it, you will need it again later where I will explain how to tell how much booze this brew has. You have found your original gravity, or OG.
Aerate
Its now time to aerate, strain (if desired), and pitch the yeast. Preferences vary on whether you need to strain your wort before fermentation. It’s obviously easier to just chuck the entire pot into the bucket, but some prefer to get rid of the hops and any other spices, especially if these spices are going to continue to be extracted into your wort. Either way, your wort needs to be aerated before tossing in the yeast. This can be done by violently pouring the wort back and forth from the fermenter and boil pot. A couple rounds is more than sufficient. Once aerated, open your yeast and toss it into the fermenter with your wort. Quickly grab your sanitized airlock and lid and place them securely onto the fermenter. Just a tip, put the airlock into the lid before putting the lid on the bucket. I’ve pushed the rubber bushing into my wort and you can ruin your beer when fishing it out.

Rinse Equipment
Rinse off your equipment! Do not let the wort sit around and collect mold. It will start to smell bad and the cleaning agents needed to get rid of it could hurt your next batches. Don’t worry about the stuff smelling like beer, it wont hurt anything, and it smells like beer, beer smells great!

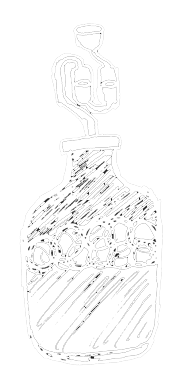
Fermentation
Most beers (ales) require you ferment at about 62-70 degrees for 4-7 days, then rack into a secondary fermenter like a carboy or another fermenting bucket. This is to get your beer off of the used yeast cake which can impart some off flavors into your beer after a while. Its not required, but recommended. Simply sanitize your siphon, another airlock and bung (if using a carboy), and the secondary vessel of choice. Siphon the beer into the secondary and cap it.